

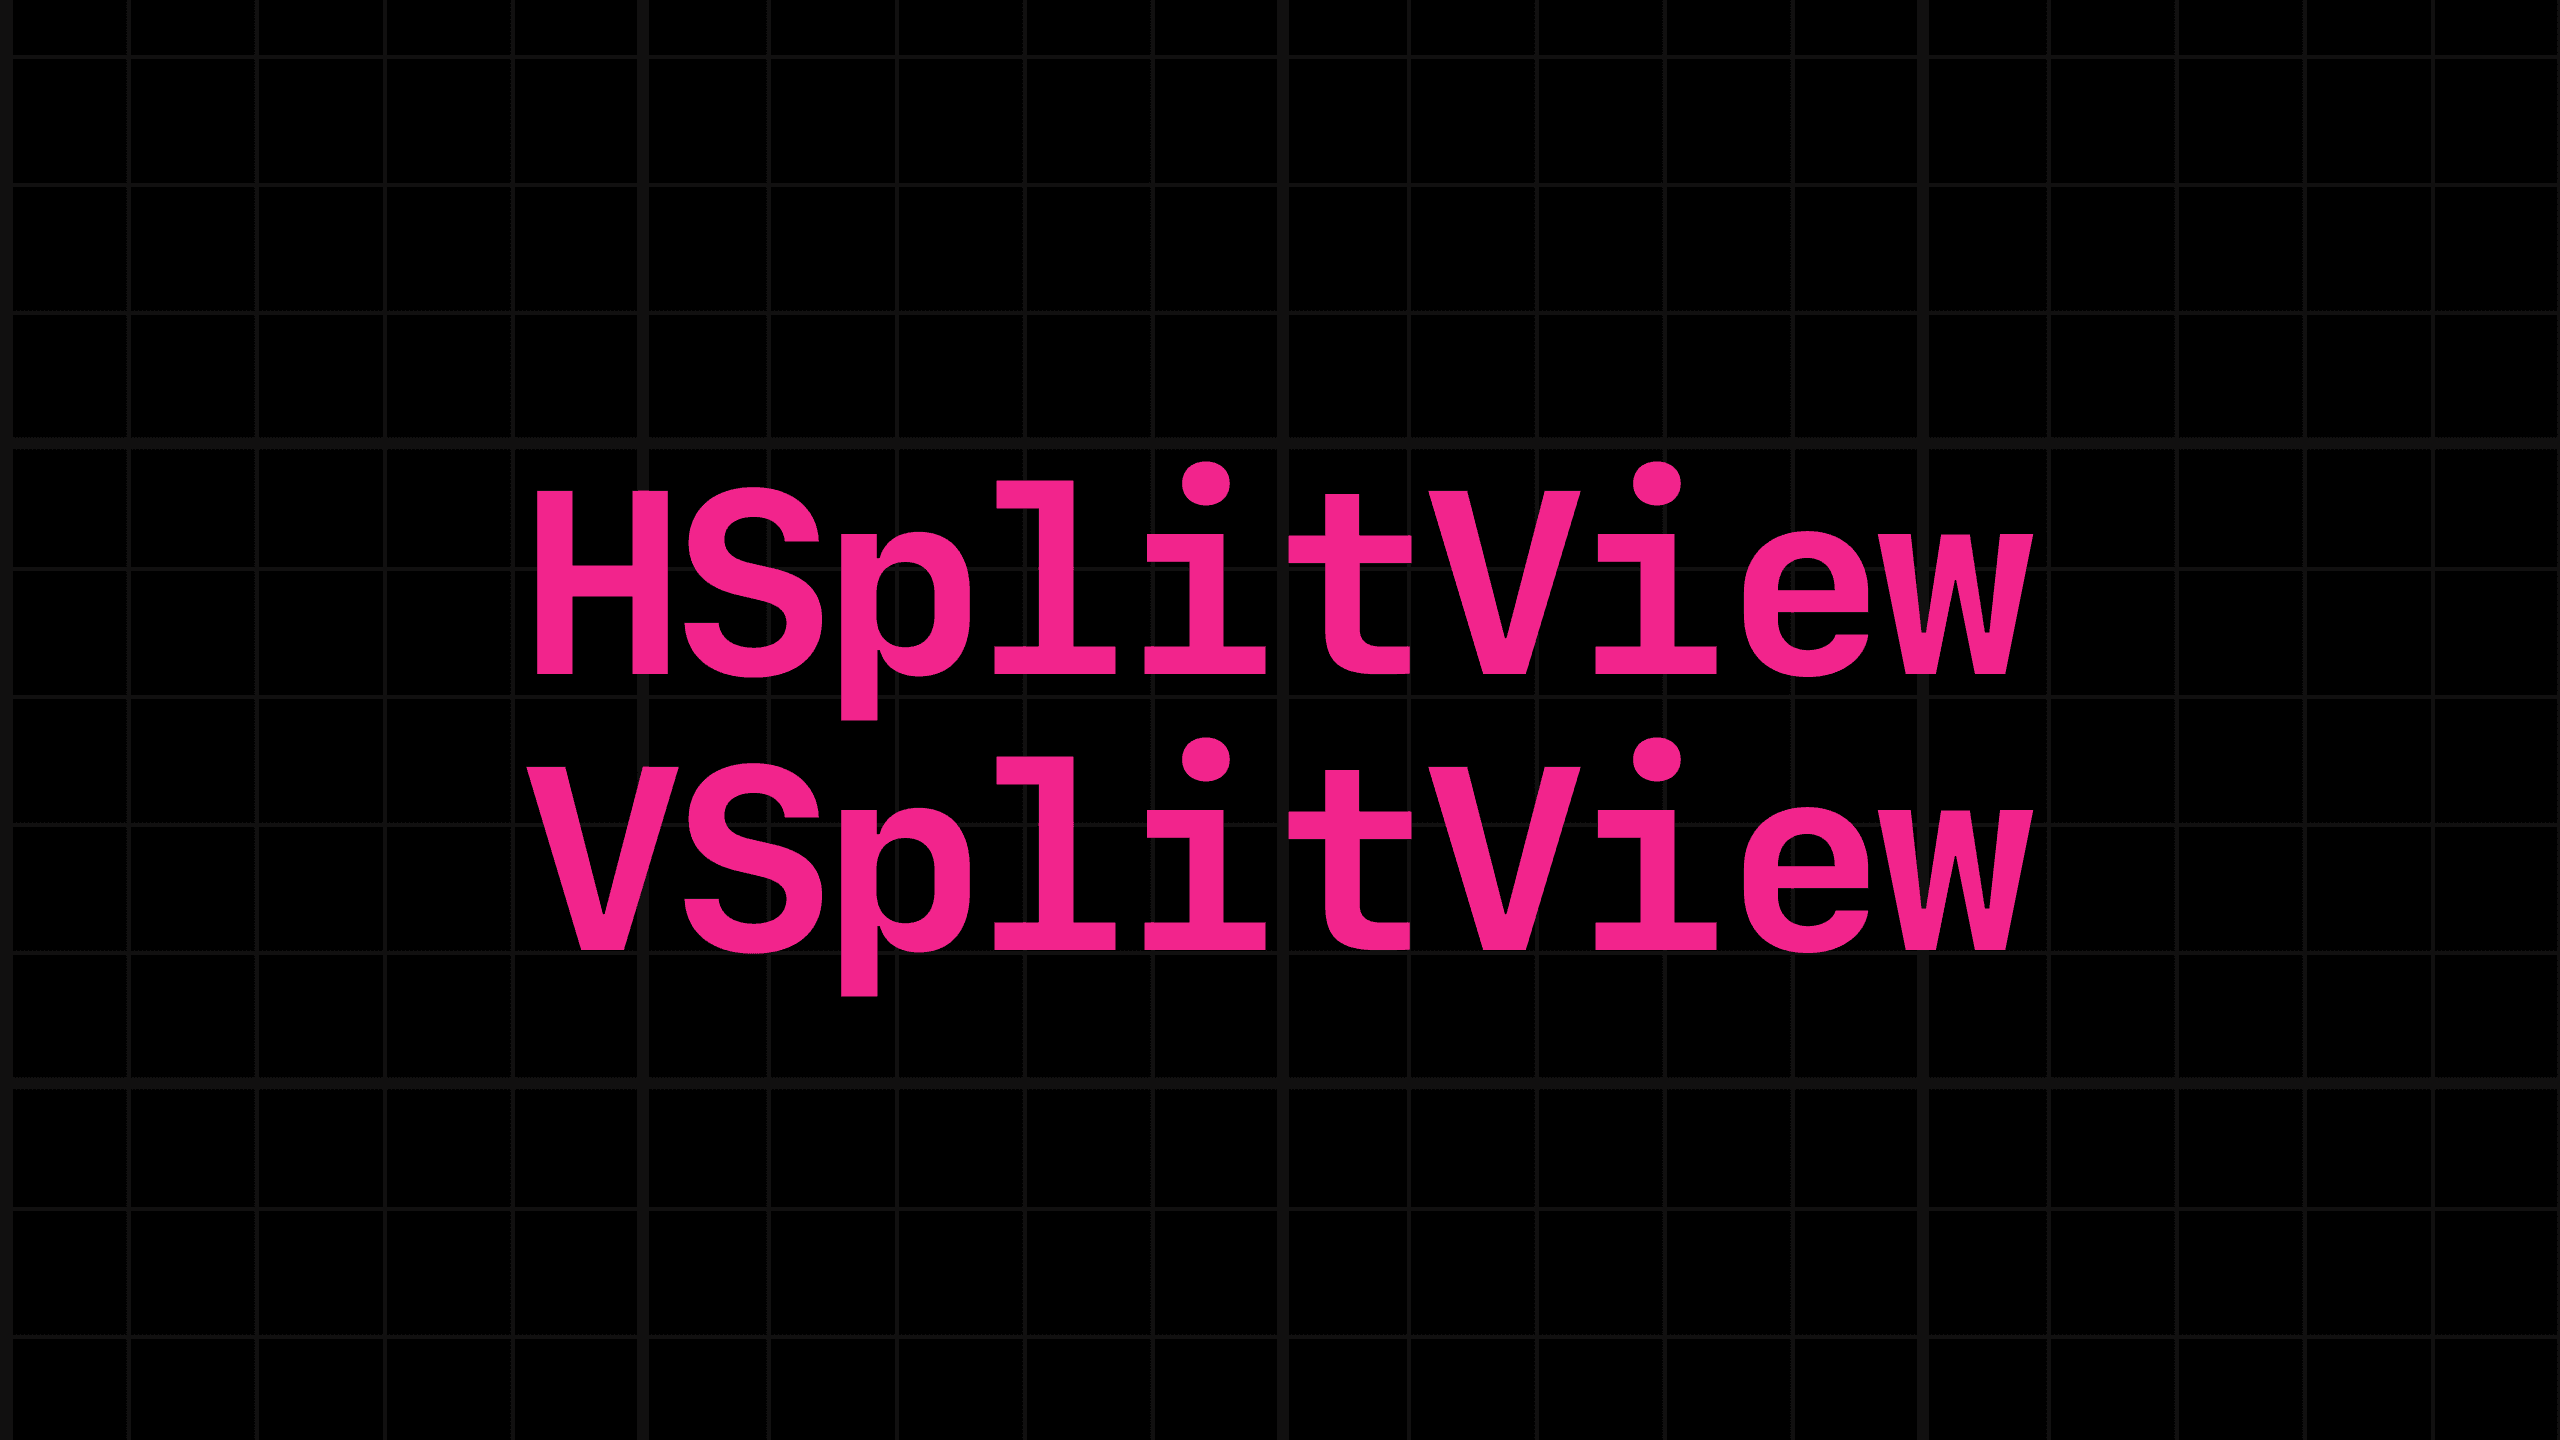
Mastering Resizable Layouts with SwiftUI's SplitView Components ( HSplitView & VSplitView)
The fundamental benefit of these components is that they automatically handle the user interaction required for resizing
Search for a command to run...
The fundamental benefit of these components is that they automatically handle the user interaction required for resizing
No comments yet. Be the first to comment.
One of the most effective ways to improve the user experience of an iOS app is by utilizing features that feel native and familiar to the user.
https://youtu.be/L0X1BK4D6mc Handling Optionals is a bread-and-butter task for Swift developers. We all know the standard way to unwrap a value or provide a fallback, but things get tricky when we are dealing with String interpolation and data type...

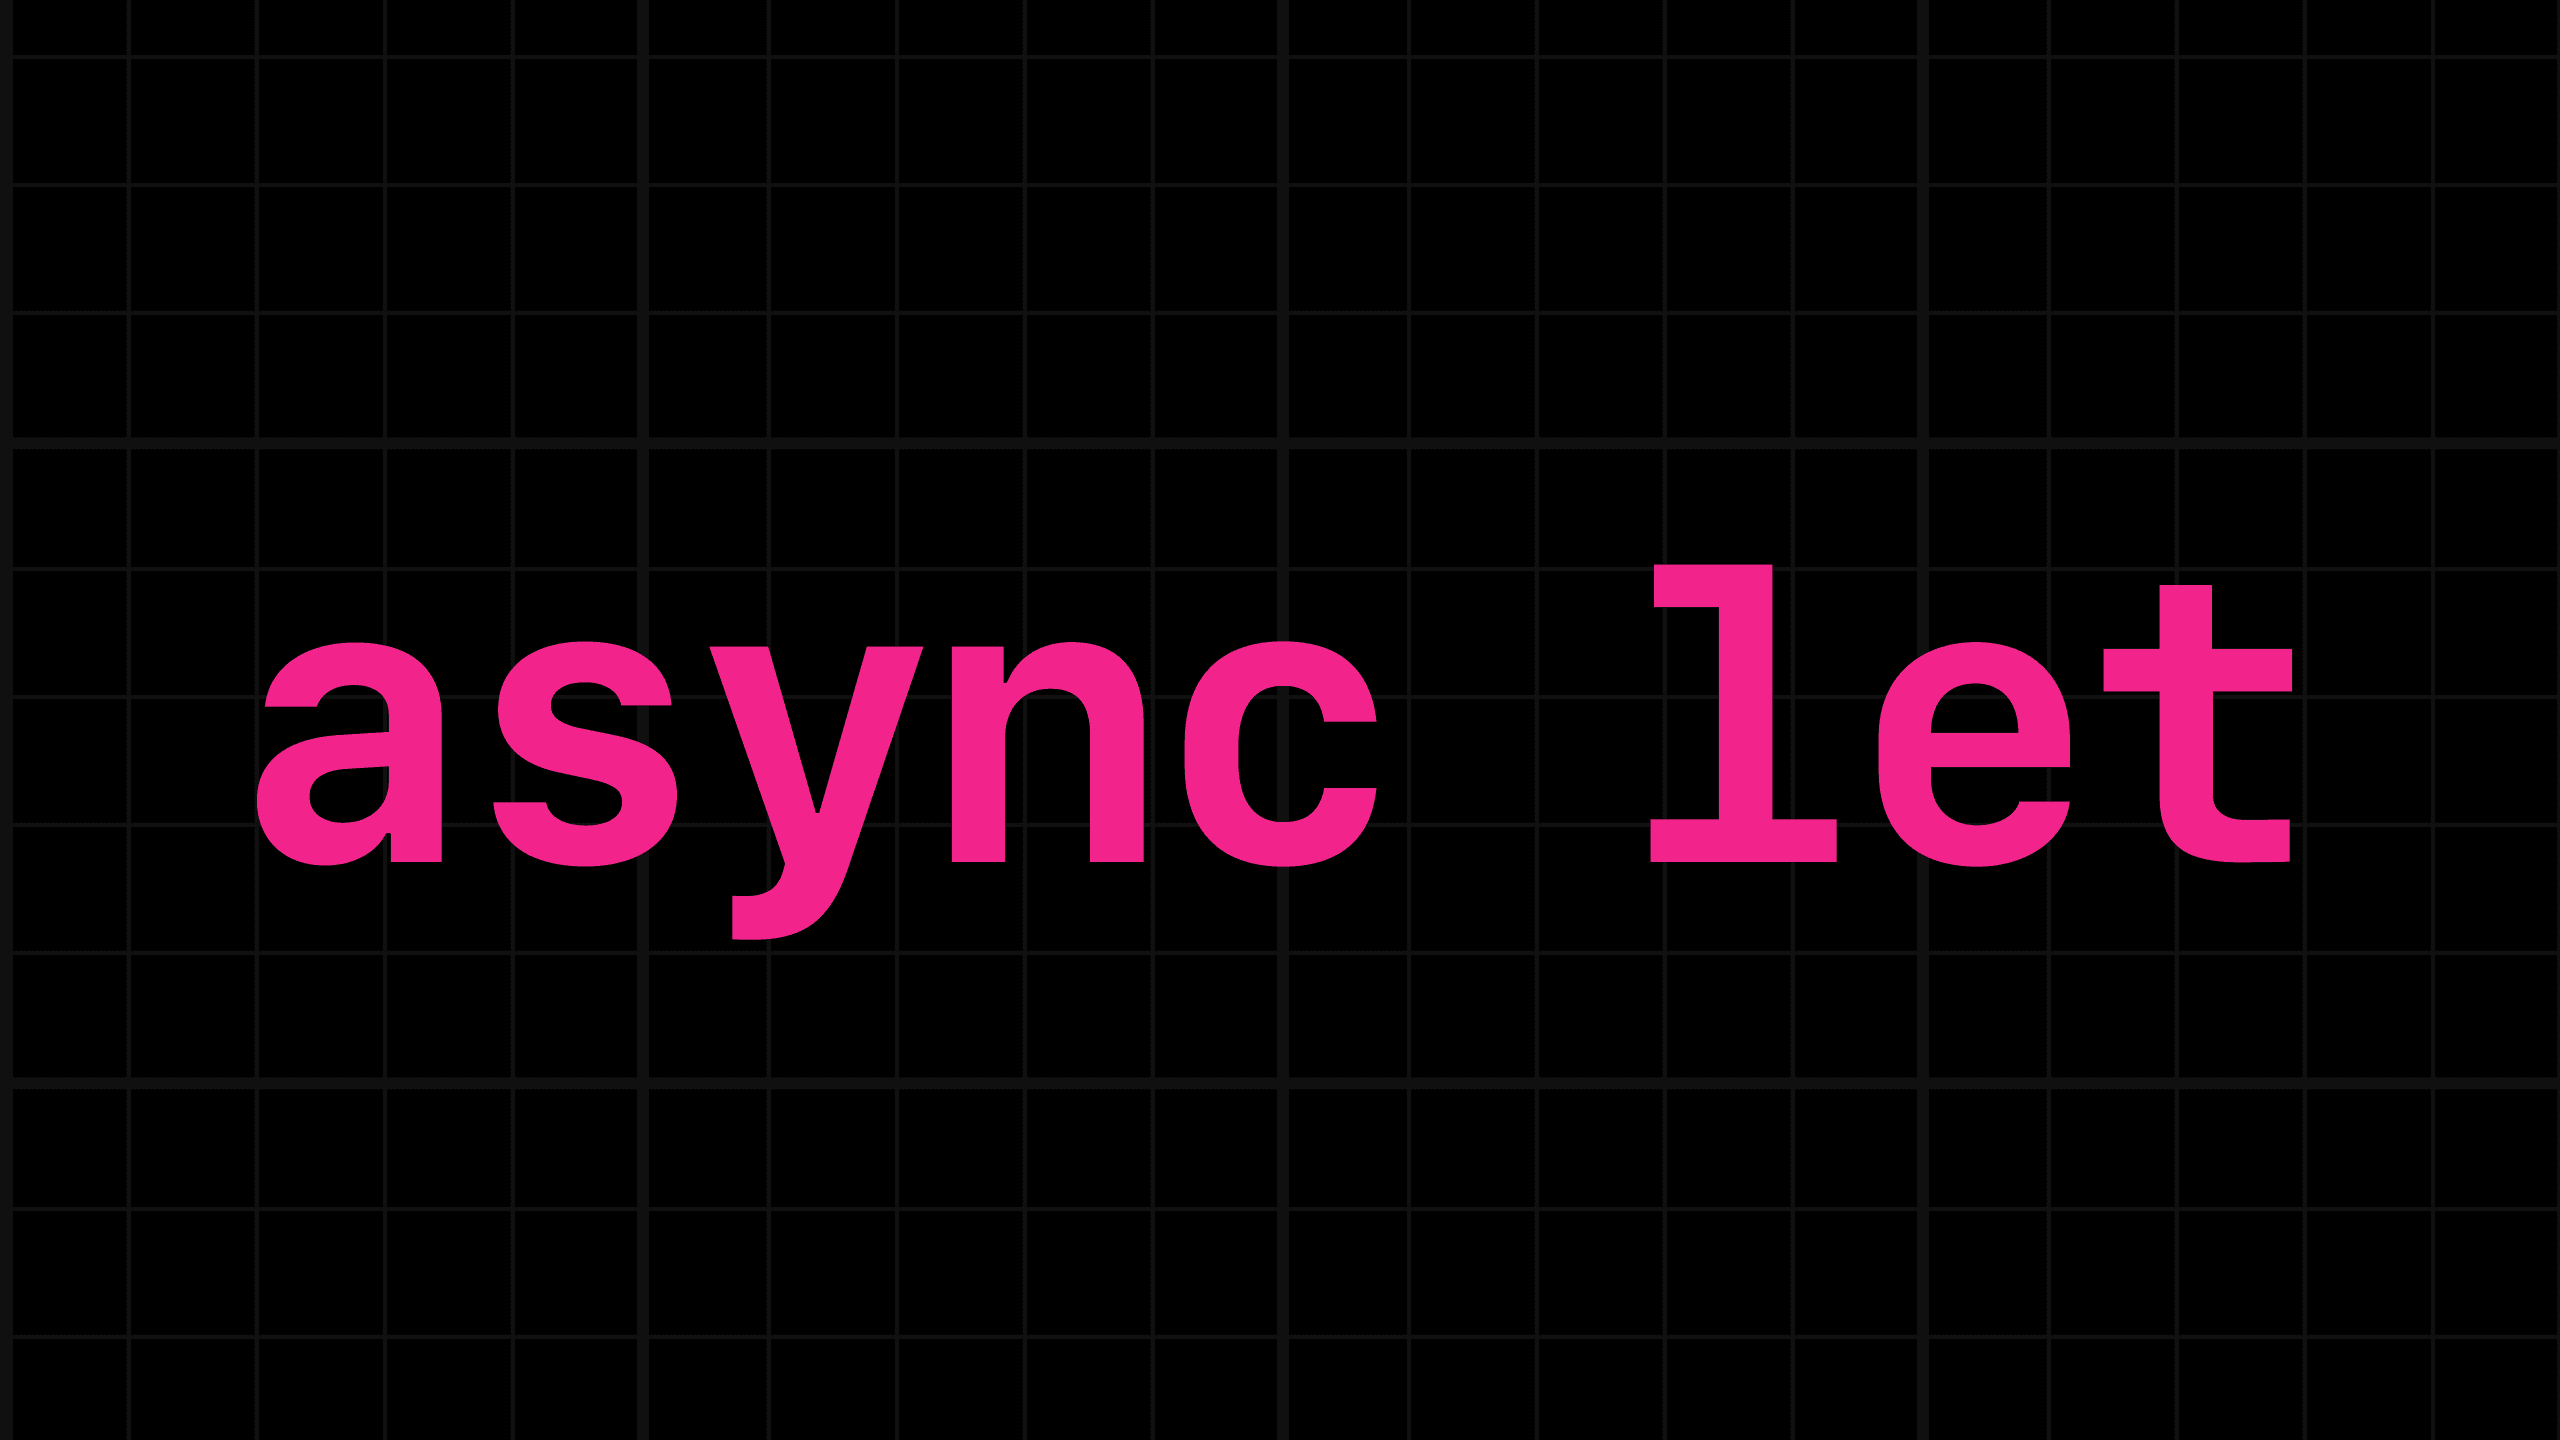
Swift's concurrency model provides a powerful and elegant solution to Parallelism: the async let binding.
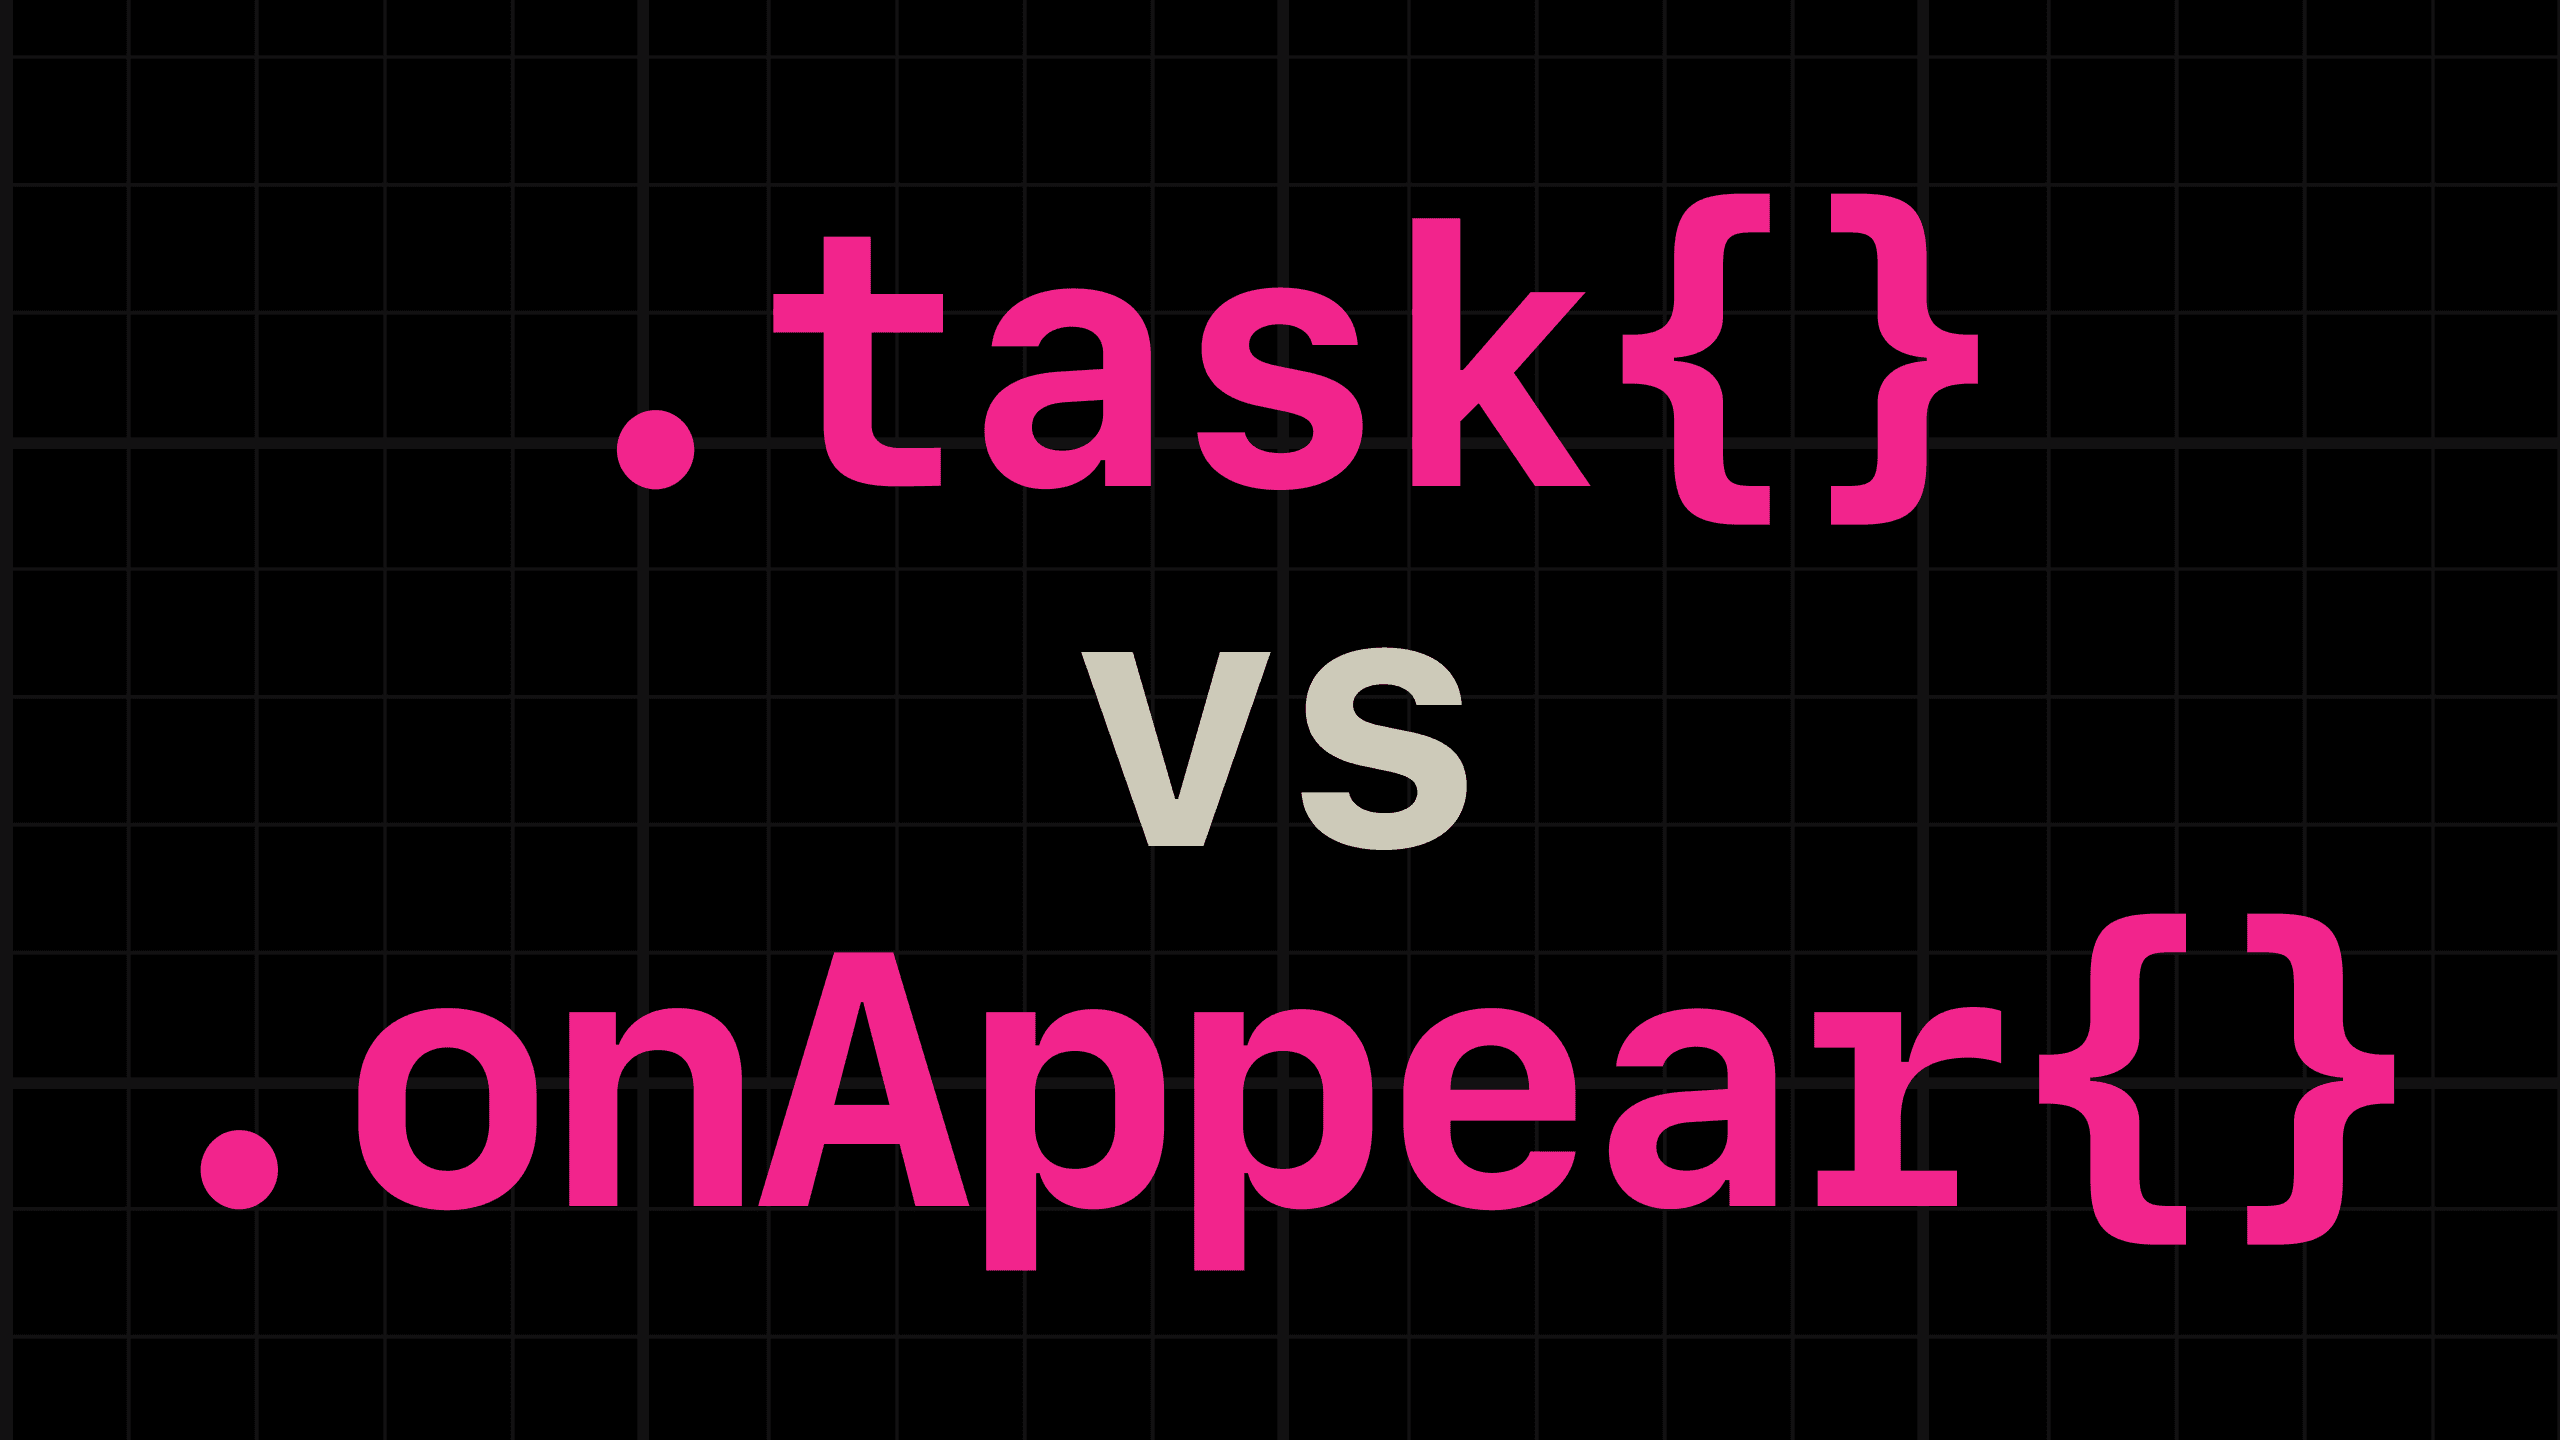
https://www.youtube.com/watch?v=CiObtyFFuSs The video is in Portuguese but with English subtitles This article explores the critical distinction between the .task and .onAppear view modifiers in SwiftUI, a common point of confusion and a frequent...
SwiftUI offers two primary components for creating resizable divisions:
•HSplitView: Used to arrange views horizontally, separated by a vertical, draggable divider. This is ideal for side-by-side content areas, such as a sidebar and a main content pane.
•VSplitView: Used to arrange views vertically, separated by a horizontal, draggable divider. This is useful for dividing a single content area into top and bottom sections.
The fundamental benefit of these components is that they automatically handle the user interaction required for resizing. By simply embedding views within an HSplitView or VSplitView, a developer instantly gains a fully functional, resizable divider.
A simple implementation of a resizable interface involves using HSplitView to divide the application window into two distinct, adjustable sections.
For example, to create a layout with a blue panel on the left and a purple panel on the right, the structure is straightforward:
struct ContentView: View {
    var body: some View {
        HSplitView {
            // Left Panel
            Color.blue
                .frame(minWidth: 100)

            // Right Panel
            Color.purple
                .frame(minWidth: 100)
        }
    }
}
When the application runs, the user can click and drag the vertical divider between the blue and purple panels to resize them, and the views will automatically adapt to the new dimensions.
For more complex application designs, HSplitView and VSplitView can be nested to create multi-dimensional, resizable layouts. This technique allows for both horizontal and vertical resizing within the same window.
Consider a scenario where the right-hand side of the horizontal split needs to be further divided vertically into a red and a green section. This is achieved by placing a VSplitView inside the right-hand pane of the HSplitView:
struct ComplexContentView: View {
    var body: some View {
        HSplitView {
            // Left Panel (Blue)
            Color.blue
                .frame(minWidth: 100)

            // Right Panel (Vertically Split)
            VSplitView {
                // Top-Right Panel
                Color.red
                    .frame(minHeight: 50)

                // Bottom-Right Panel
                Color.green
                    .frame(minHeight: 50)
            }
        }
    }
}
While the default behavior allows for free resizing, developers often need to impose limits to maintain a usable interface. This is accomplished using standard SwiftUI frame modifiers.
By applying modifiers like .frame(maxWidth: 200) to a view within a split view, you can set a maximum size for that pane. The divider will stop moving once the pane reaches this constraint, ensuring that critical content areas are not completely obscured or resized beyond a functional limit.
For instance, to ensure the left panel never exceeds 200 points in width:
HSplitView {
    Color.blue
        .frame(minWidth: 100, maxWidth: 200) // Constrained Panel

    Color.purple
        .frame(minWidth: 100) // Flexible Panel
}